Content
Published: 4th December 5:21AM
Part 1: The Golden Rules (Read This First)
If you only read one section, make it this one. RedSec is not Warzone and it is not Apex. If you play it like those games, you will die.
- The Fire is Instant Death: Unlike other BRs, the “Ring of Fire” does not tick away your health. It kills you instantly. Do not try to “rotate late” through the gas. If the fire touches you, you are gone.
- Destruction is Your Friend (and Enemy): You cannot camp in a building if the building no longer exists. Use C5 to level cover, and avoid “The Crow’s Nest” tower in Downtown late-game (it can be toppled).
- Economy Wins Games: You don’t just find loot; you complete Missions. The best gear (and Tanks) are locked behind Gold-tier contracts.
- No Solos in Squads: The “Second Chance” auto-respawn only works if your squad is alive. If you solo drop and die, you are spectating.
Part 2: Optimal Settings & Performance
Fort Lyndon is massive and foliage-heavy. You need visibility over fidelity.
Video Settings (Competitive)
- Field of View: 95-105 (Anything higher distorts long-range targets).
- ADS Field of View: ON (Reduces visual recoil).
- Motion Blur: OFF (Mandatory).
- Vegetation Quality: LOW (Removes grass sprites that hide prone enemies).
- Lighting Quality: LOW (Removes sun glare/god rays).
- DLSS/FSR: Set to Quality. Performance mode creates too much “shimmer” at range.
Audio Settings (The “Footstep” Mix)
- Audio Mix: “War Tapes” or “Night Mode” (Compresses dynamic range so footsteps are louder relative to explosions).
- Music Volume: 0% (The end-game music is epic, but it drowns out audio cues).
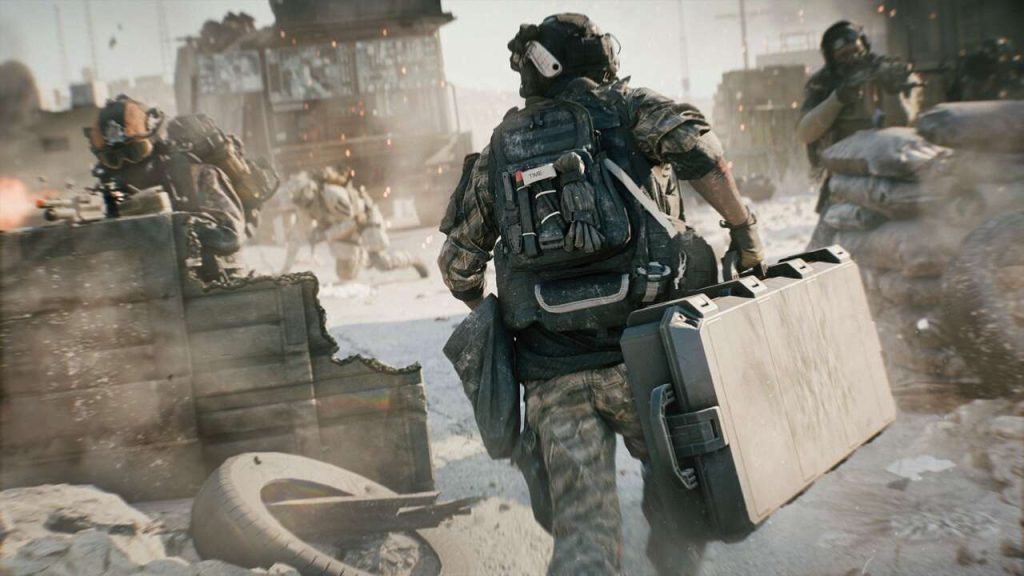
Part 3: The Class Meta
In RedSec, your Class dictates your loot access. A balanced squad is non-negotiable.
Assault (“The Fragger”)
- Role: Breach and clear.
- Passive: “Adrenaline” (Faster health regen after kills).
- Meta Perk: Lightweight (Faster sprint speed—essential for outrunning the Fire).
- Why pick? Best for 1v1 duels.
Engineer (“The Looter”)
- Role: Vehicle counter & Economy.
- Passive: “Blowtorch” (Can repair vehicles AND melt open locked Safes found in banks/shops).
- Meta Perk: Demolitionist (More starting rockets).
- Why pick? Safes contain Level 3 Armor and Cash. You need an Engineer to get rich early.
Support (“The Anchor”)
- Role: Sustain.
- Passive: “Triage” (Revives teammates 50% faster).
- Special Ability: Can open Ambulances and Medical Crates without a key.
- Why pick? Free self-revive kits spawn in Ambulances.
Recon (“The Rat”)
- Role: Intel.
- Passive: “Eagle Eye” (Sniper scopes have no sway).
- Special Ability: Can hack Survey Beacons to reveal the next circle.
- Why pick? Knowing where the Fire goes next is the only way to set up power positions.
God Squad Composition: 1 Engineer (Loot), 1 Recon (Circle Intel), 2 Assaults (Fraggers).
Part 4: Fort Lyndon Map Guide & Drop Spots
High Tier Loot (Hot Zones)
- Downtown: The Tilted Towers of BF6. Vertical combat, high loot density, and the “Crow’s Nest” skyscraper. Warning: Snipers love the rooftops.
- Area 22B: The military base. Guaranteed high-tier weapons, but it’s a wide-open kill box.
- Chemical Storage: Close-quarters chaos. Great for SMG players (Scorpion EVO shreds here).
Tactical Drops (Win Probability)
- Radar Site: Elevated position. Good loot, easy rotation downhill to almost any circle.
- The Lighthouse: Isolated, but spawns a guaranteed RHIB Boat. Loot up safely, then rotate along the coast to flank teams.
The “Trap” Drops
- Lyndon Oilworks: It looks tempting, but the metal walkways are loud, and you can be shot from 360 degrees. Avoid unless you are desperate.
Part 5: The Economy & Keycards
Stop looking for loot on the floor. Start doing this:
- Green Missions (Bounties): Quick cash. Do these immediately on landing.
- Gold Missions (Heist/Secure): These appear mid-game.
- Reward: RedSec Keycard.
- Usage: Unlocks the “Black Site” Bunkers.
- The Bunkers: This is where you find the M1A5 Main Battle Tank or the Attack Chopper.
- Tip: If you hear a siren, someone just opened a bunker. Ambush them as they try to drive the tank out.
Part 6: Advanced Tips & Tricks
- The “Ambulance” Strat: If you are playing Support, land near the highway pile-ups. Open every ambulance. You will likely have 4 Self-Revive kits before the first circle closes.
- The Crane Trick: In the Marina district, you can destroy the counterweight on the construction crane with 3 RPGs. It will collapse, creating a bridge to the neighboring buildings.
- Drone Bombing: Recon players can attach C5 to their Casper Drone. Fly it into a room of campers and detonate. It’s cheesy, but it works.
- Golf Cart Physics: The tactical EVs (Golf Carts) are silent but weak. Use them for stealth rotations, but ditch them the second you are spotted. They explode in roughly 10 bullets.
Part 7: Weapon Tier List (Season 1)
| Tier | Weapon | Why? |
| S | M5A3 (Short Barrel) | Zero recoil, melts at close-mid range. The versatile king. |
| S | Victor .45 | The SMG with the fastest TTK inside 10 meters. |
| A | SWS-10 Sniper | 1-shot headshot. Essential for the massive sightlines of Fort Lyndon. |
| A | LCMG | 200 rounds. Perfect for suppressing squads or destroying light vehicles. |
| B | AK-24 | Hits hard, but the visual recoil is too bouncy for long-range beaming. |
| C | DM7 | Outclassed by snipers at long range and ARs at mid range. Avoid. |
Final Verdict
Success in RedSec isn’t about aim; it’s about information.
- Use Recons to find the circle.
- Use Engineers to get the cash.
- Use Vehicles to dominate the endgame.
Good luck, Operator.

About the author
